














Lye and Soap Making: A Friendly Guide for Makers
If you make soap from scratch, you’ll work with lye. It’s an important ingredient, and it needs to be handled carefully. Understanding what lye does makes the process easier to follow and helps you make a well-planned batch.
Why is lye used in soap?
Think of lye as the ingredient that helps turn oils into soap. When you mix the right amount of lye with the oils in your recipe, they react and form something new: soap. That change is called saponification. For solid soap bars, makers usually use a type of lye called sodium hydroxide (NaOH). Liquid soap is usually made with a different type, potassium hydroxide (KOH).
Lye isn’t simply stirred into a bar and left there. In a properly calculated batch, it reacts with the oils instead of remaining as free lye in the finished soap. Different oils require different amounts of lye, which is why makers calculate and weigh each ingredient rather than guessing.
What happens after the soap is poured?
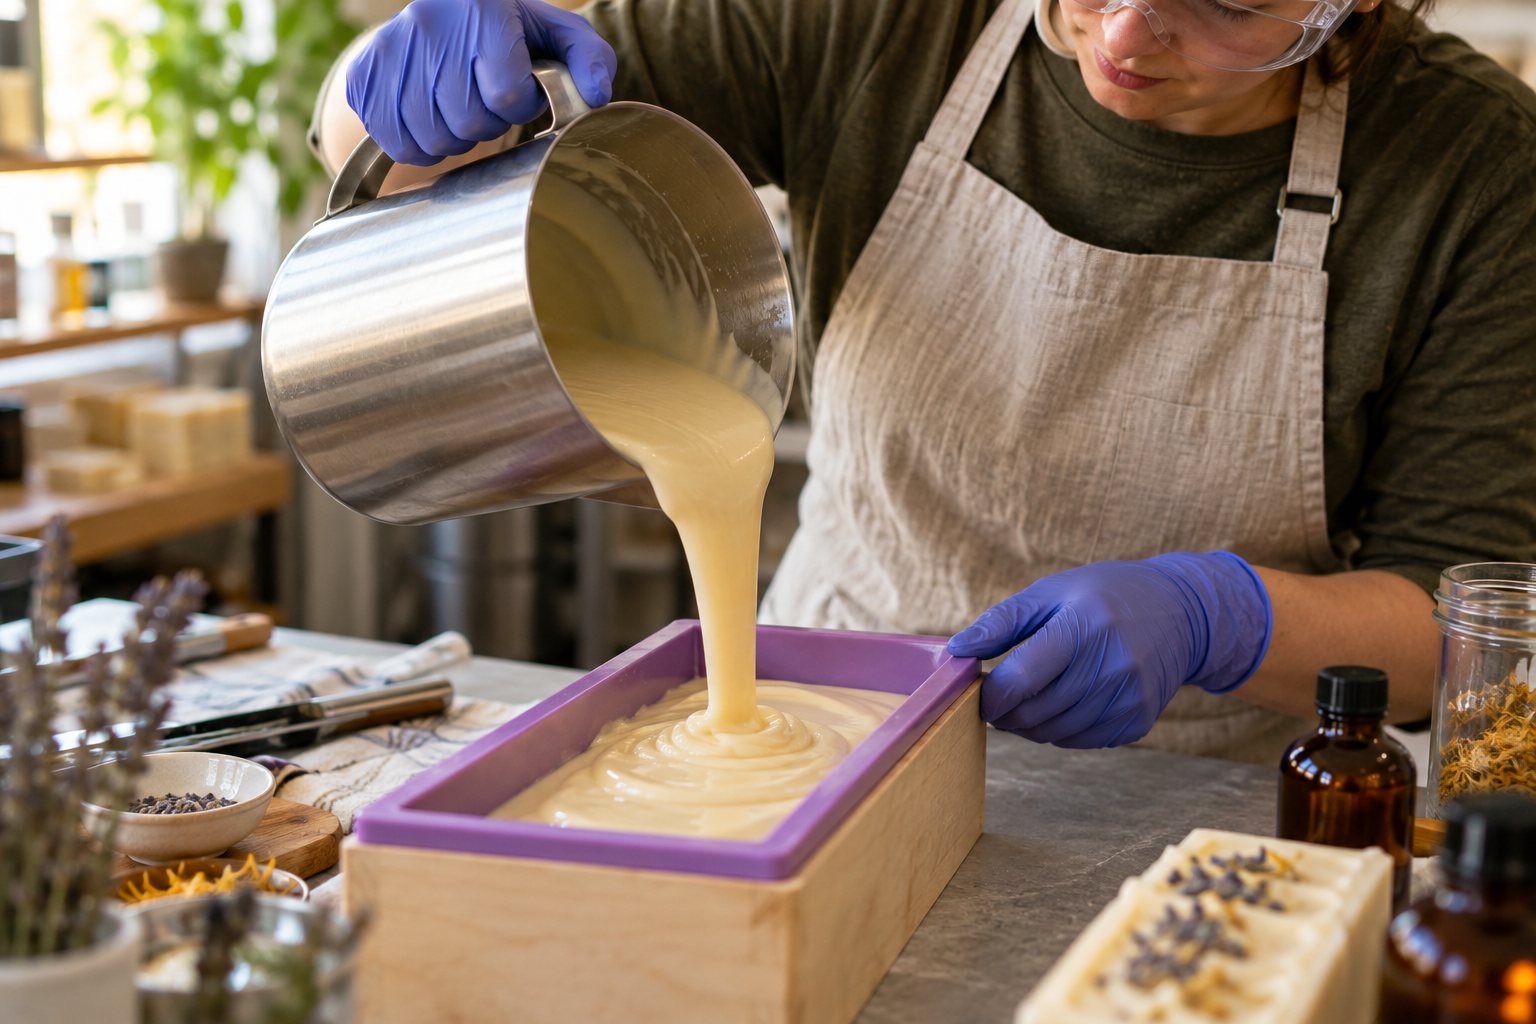
In cold process soap making, the maker blends the lye solution with oils, pours the soap into a mold, then allows it to harden and cure. Hot process soap making adds heat to move the reaction along before molding. Both methods call for care while handling the lye solution and fresh soap batter.
Cold process bars usually spend several weeks curing. As water evaporates, they become firmer and tend to last longer in use. Curing helps the quality of the bar, but it cannot correct a recipe that started with too much lye. That’s one more reason to check the recipe before mixing.
Maker tip: If you want to explore soap designs and fragrance without handling lye yourself, melt-and-pour soap base has already been made. You can focus on melting, scenting, coloring, and pouring it according to the base manufacturer’s directions.
A comfortable, safety-minded setup
You don’t need to rush through soap making. Give yourself a clear workspace, a reliable recipe, and enough time to enjoy the process. Before you begin:
- Dress for the task. Wear splash goggles, gloves that protect against lye, long sleeves, and closed-toe shoes. Keep them on while you work with the lye solution and fresh batter.
- Measure by weight. Use an accurate scale and a soap-specific lye calculator for your exact oils and amounts. Recalculate whenever you change the oils or batch size.
- Mix in the right order. Slowly add lye to water—never water to lye—in a well-ventilated area. The solution heats up, so use a suitable heat-resistant container and avoid breathing the mist above it.
- Choose suitable tools. Use equipment appropriate for lye soap making, such as stainless steel or compatible heat-resistant plastic. Avoid aluminum and other reactive metals.
- Make the workspace yours. Keep children and pets away from the ingredients and fresh soap. Store lye securely in its original, clearly labeled container, and leave your work area clean when you finish.
If there’s a splash: Rinse affected skin or eyes immediately with plenty of room-temperature running water for at least 20 minutes. Remove contaminated clothing while rinsing skin. Call Poison Control at 1-800-222-1222 for guidance; an eye exposure needs prompt medical attention. If you breathe in irritating mist, move to fresh air and seek guidance. If lye is swallowed, contact Poison Control or emergency medical services immediately and do not induce vomiting. Use water, not vinegar, to rinse skin or eyes.
Now for the fragrance
Once your soap recipe is ready, scent is where you can have some fun. Maybe your collection calls for a fresh, clean bar, a cozy bakery scent, or something wonderfully unexpected. The fragrance helps make the finished soap feel like yours.
Choose a fragrance oil suitable for soap and check its current usage guidance, including the applicable IFRA limit for your finished product. That limit is a maximum, not a suggested amount to aim for. Cold process test notes can also tell you whether a fragrance may speed up thickening or change the color of your soap. When you’re trying something new, a small test batch is a maker’s best friend.
Ready to give it a try?
Soap making offers plenty of room to learn, experiment, and put your own spin on a recipe. Start with a trusted formula, check your measurements, set up your safety gear, and take it one step at a time. Before long, you’ll be dreaming up the next batch—and, of course, what it should smell like.