







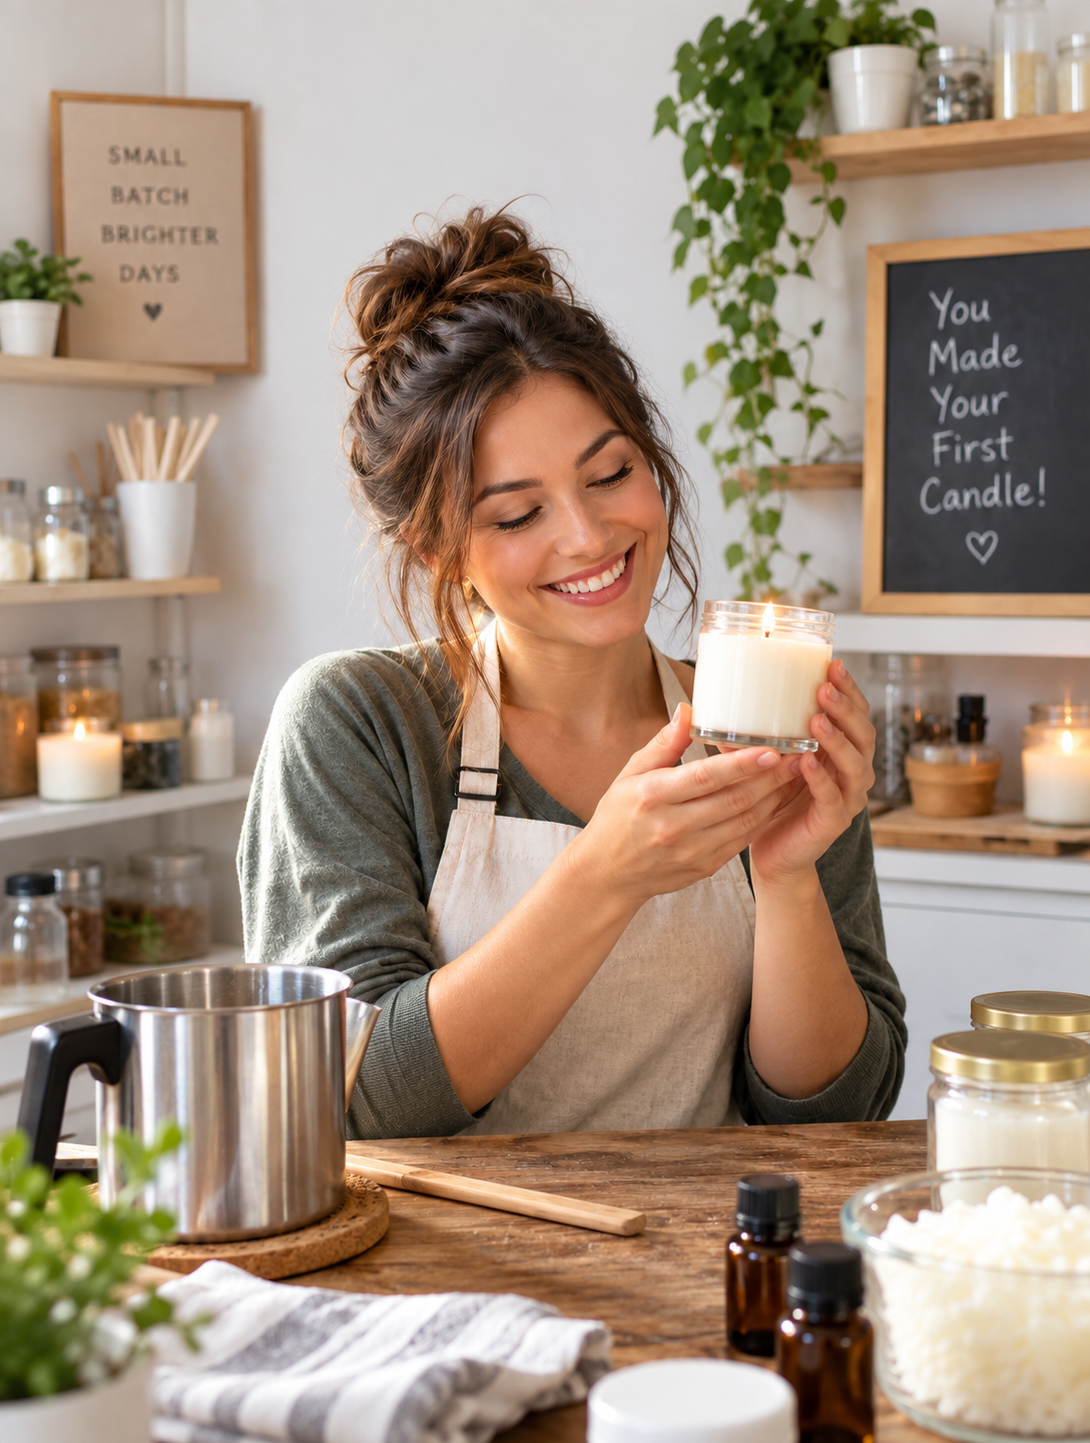
Candle Making for Absolute Beginners: From Just An Idea to Your First Finished Candle
So, you want to make a candle huh?
Maybe you smelled a candle somewhere and thought, I could make something like this. Maybe you want to make gifts. Maybe you’re thinking about starting a small business someday. Or maybe you just want to see if you can turn a bottle of fragrance oil and a bag of wax into something magical.
Good news: you can.
Candle making does involve a little science, but you do not need to be a chemist to get started. You just need to understand what each part of a candle does and be willing to test your creations as you learn.
Let’s start at the beginning…
Step 1: Decide What Kind of Candle You Want to Make
Before buying anything, picture the candle in your mind.
- A candle in a glass jar?
- A little travel tin?
- A large three-wick candle?
- A strongly scented candle?
- Something clean and simple?
- A colorful candle?
- A candle you may eventually sell?
For your very first candle, keep it simple.
A basic container candle — meaning wax poured into a heat-safe candle jar or tin — is one of the easiest places to begin.
You do not need fancy molds, multiple colors, decorations, or complicated designs yet.
Your first goal is simply:
Make a candle that smells good and burns safely and properly.
That is a win.
Step 2: Learn the Main Parts of a Candle
A basic scented candle has a few important pieces.
Wax
Wax is the main body of your candle.
There are several kinds of candle wax, including soy wax, paraffin wax, coconut blends, apricot blends, beeswax, and many others.
Different waxes behave differently.
Some hold more fragrance. Some melt more easily. Some need longer curing times. Some give a smoother-looking finished candle than others.
For your first candle, choose a wax that is specifically made for container candles.
The wax manufacturer will usually give you instructions for that particular wax, including recommended temperatures and how much fragrance it can safely hold.
Fragrance Oil
Fragrance oil is what gives your candle its scent.
This is the fun part!
You might choose something simple like vanilla, lavender, apple, coconut, or a bakery fragrance. Or you might choose a more complex fragrance with several different notes.
One important thing to remember:
More fragrance does not automatically mean a stronger candle.
Every wax has a recommended fragrance load. Adding too much fragrance can actually cause problems.
Start within the wax manufacturer’s recommended range.
Wick
The wick is the part you light, but its job is bigger than it looks.
The wick pulls melted wax upward, where the wax becomes fuel for the flame.
Choosing the correct wick is extremely important.
A wick that is too small may create a tiny flame and leave lots of unmelted wax around the sides of the container.
A wick that is too large may burn too hot, create a very large flame, make the container excessively hot, or burn through the candle too quickly.
Unfortunately, there is no magical wick that works with every candle.
Your wax, fragrance oil, container diameter, fragrance percentage, and even candle color can affect wick performance.
That is why candle makers test their candles.
More on that soon.
Container
Your container holds everything together.
For candle making, use containers specifically intended to withstand candle heat.
Not every cute drinking glass, coffee mug, flowerpot, or decorative container is automatically safe for candle use.
For your first candle, purchase a candle jar or candle tin from a candle-making supplier.
It removes one big question mark from the process.
Step 3: Gather Your Basic Supplies
You really do not need an entire candle factory sitting on your kitchen counter. (but hey- that might happen too! You’ll be fine!)
For a basic first candle, you’ll want:
- Container candle wax
- Candle-safe fragrance oil
- A candle jar or tin
- The appropriate wick to begin testing
- Wick sticker or another candle-safe wick adhesive
- Wick centering tool
- Pouring pitcher
- Digital scale
- Thermometer
- Stirring utensil
- A way to melt your wax safely
- Paper towels for cleanup
A Digital Scale
When making candles, ingredients should generally be measured by weight, not by simply filling a measuring cup to a line.
That means instead of saying, “I’ll use half a cup of wax and a tablespoon of fragrance,” you’ll weigh your ingredients.
Think of candle making more like baking than pouring a drink.
Measurements matter.
Step 4: Decide How Much Fragrance to Use
This part sounds complicated at first, but the basic idea is pretty simple.
Each candle wax has a recommended fragrance load. That percentage tells you how much fragrance oil to use based on the amount of wax you’re using.
For example, let’s say you’re using:
16 ounces of wax
and you want to use an:
8% fragrance load
You would calculate:
16 × .08 = 1.28 ounces of fragrance oil
So you would use:
16 ounces of wax + 1.28 ounces of fragrance oil
But don’t worry — you do not have to do the math yourself every time. Our free Candle Fragrance Load Calculator can do the calculating for you.
Just enter the amount of wax you’re using and your desired fragrance load, and the calculator will tell you how much fragrance oil you need.
The important lesson is this:
Do not simply pour fragrance oil into the wax until it smells strong enough.
Measure it, and always stay within the recommended fragrance-load range for the wax you’re using.
Step 5: Prepare Your Container
Before melting anything, get your candle container ready.
Make sure it is:
- Clean
- Dry
- Free of cracks or damage
- At room temperature
Attach your wick to the center of the bottom of the container.
Then use a wick centering tool to keep the wick standing straight.
You want the wick as centered as possible because an off-center wick can cause the candle to burn unevenly.
This is much easier to do before you’re standing there holding a pitcher of hot wax.
Step 6: Weigh Your Wax
Place your pouring pitcher or container on the digital scale.
Press the tare button.
Tare simply means telling the scale:
“Pretend this empty pitcher weighs zero.”
This is the way you get the weight of only the wax and not the pitcher.
Now add your wax until you reach the amount you need.
Easy.
Step 7: Melt Your Wax
Now you’ll slowly melt your wax.
A double-boiler-style setup is commonly used by beginners. Candle makers may also use other equipment designed for melting wax.
Whatever method you use, never leave melting wax unattended.
Use your thermometer to keep track of the temperature.
Your wax manufacturer should give you a recommended heating temperature.
Follow the directions for your particular wax, because not every wax should be treated exactly the same way.
And please don’t heat wax based on guesswork.
Hotter is not better.
Step 8: Add Your Fragrance Oil
Once the wax reaches the appropriate temperature, it’s time for the part you’ve probably been waiting for.
Fragrance!
Weigh the correct amount of fragrance oil using your scale.
Add it according to your wax manufacturer’s recommended temperature range.
Then stir gently and thoroughly.
You want the fragrance distributed throughout the melted wax rather than sitting in one little area.
Again, follow the instructions for your wax whenever possible. Different waxes may have slightly different recommended methods.
Step 9: Pour Your Candle
Once your wax reaches the appropriate pouring temperature, slowly pour it into your prepared container.
Leave some space at the top rather than filling the jar all the way to the rim.
Check that your wick is still centered.
And now comes one of the hardest parts of candle making:
Leave it alone.
Really.
Don’t poke it.
Don’t move it around unnecessarily.
Don’t decide ten minutes later that the wick looks two millimeters too far to the left and start messing with it.
Let the candle cool. 🙂
Step 10: Let the Candle Cure
Your candle may look finished once the wax becomes solid.
But it isn’t necessarily ready to burn yet.
Many waxes benefit from a curing period after pouring.
Curing gives the wax and fragrance time to settle together.
Depending on the wax, that may mean waiting a few days or sometimes considerably longer before evaluating the candle’s scent performance.
Follow the recommendations for your particular wax.
This is another moment where candle making teaches patience.
You made the candle.
You want to light the candle.
The candle is sitting there looking adorable.
Wait anyway.
Step 11: Trim the Wick
Before burning your candle, trim the wick according to the wick manufacturer’s recommendation.
A common starting point is around 1/4 inch, although wick recommendations can vary.
A wick that is much too long can create an oversized flame, soot, or other burning problems.
Step 12: Test Burn Your Candle
Here is where candle making changes from a cute craft project into actual candle making.
You test it.
Do not assume a candle is perfect simply because it looks beautiful and smells wonderful when you open the lid.
Light the candle in a safe location away from drafts, children, pets, curtains, papers, or anything flammable.
Never leave it unattended.
As it burns, pay attention to what happens.
You are looking at things like:
- Flame size
- Melt pool
- Wick behavior
- Smoke or soot
- Container temperature
- How evenly the candle burns
- How the fragrance smells while burning
What Is a Melt Pool?
The melt pool is simply the layer of melted wax around the burning wick.
As the candle burns, that pool usually gets wider.
Don’t panic if the first burn doesn’t immediately melt every bit of wax from one side of the jar to the other. Candle performance should be evaluated over multiple burns and through the life of the candle.
That’s another reason one quick test isn’t enough.
Step 13: Learn Hot Throw and Cold Throw
You’ll hear candle makers use these two phrases a lot.
They’re actually very simple.
Cold Throw
Cold throw is how the candle smells when it is not burning.
Pick up your finished candle and smell it.
That’s cold throw.
Hot Throw
Hot throw is how the fragrance performs while the candle is burning.
Can you smell it across the room?
Is it pleasant?
Is it too weak?
Does the fragrance smell different when heated?
That’s hot throw.
And here’s an important beginner lesson:
A candle can have great cold throw and disappointing hot throw — or the opposite.
That’s why you can’t judge a finished candle only by smelling the jar.
Step 14: Write Everything Down
This sounds boring.
Do it anyway.
Seriously.
Write down:
- Wax used
- Amount of wax
- Fragrance used
- Fragrance percentage
- Wick type and size
- Container
- Heating temperature
- Fragrance-addition temperature
- Pouring temperature
- Cure time
- Burn-test results
Because eventually you’ll make a fantastic candle.
And then you’ll think:
“Wait…what wick did I use?”
Been there.
Good candle makers keep records so they can repeat what works and change what doesn’t.
Step 15: Change One Thing at a Time
Let’s say your first candle doesn’t burn the way you hoped.
That’s normal.
Maybe you need another wick size.
Maybe that wax performs better with a slightly different fragrance percentage.
Maybe your container needs a different wick series.
Here’s the trick:
Change one thing at a time.
If you change the wax, wick, fragrance amount, container, and pouring temperature all at once, you won’t know what actually fixed the problem.
Candle testing is basically:
Make → Burn → Observe → Adjust → Try Again
That’s the process.
Your First Candle Does Not Have to Be Perfect
This may be the most important part of the whole article.
Your first candle is supposed to teach you something.
Maybe it has a slightly bumpy top.
Maybe the wick wasn’t perfectly centered.
Maybe the hot throw isn’t as strong as you hoped.
Maybe you discover that the wick you chose isn’t right.
That’s not failure.
That’s testing.
Every experienced candle maker has made candles that didn’t work exactly as planned. Learning why something happened is part of becoming a better maker.
Thinking About Selling Your Candles?
If you eventually want to sell candles, slow down before jumping from your first successful candle to making 50 of them.
A candle that smells amazing is not automatically ready for sale.
Before selling, you’ll want to become comfortable with:
- Proper burn testing
- Wick testing
- Candle-safe containers
- Fragrance usage rates
- Supplier documentation
- Warning labels
- Batch records
- Product consistency
- General candle safety
- Business and insurance considerations
And remember: changing something in the formula can mean you need to test again.
Different fragrance?
Test it.
Different wick?
Test it.
Different jar?
Test it.
Different wax?
Definitely test it.
Testing isn’t the annoying thing you have to do before becoming a candle maker.
Testing is part of being a candle maker.
Your Beginner Candle-Making Roadmap
If everything above feels like a lot, here’s the whole process in plain English:
Choose a candle idea → Choose your wax → Choose a fragrance → Choose a jar → Choose a starting wick → Measure everything → Melt the wax → Add fragrance → Pour → Let it cure → Trim the wick → Burn test → Take notes → Adjust if necessary → Test again
That’s it.
You don’t need to know everything before you begin.
You just need to understand what you’re working with, follow your suppliers’ instructions, pay attention to safety, and be willing to learn from each candle you make.
Your first candle may not be the candle you eventually sell.
But it might just be the candle that starts everything. 🩵
See Also: Troubleshooting: Weak Hot or Cold Throws