











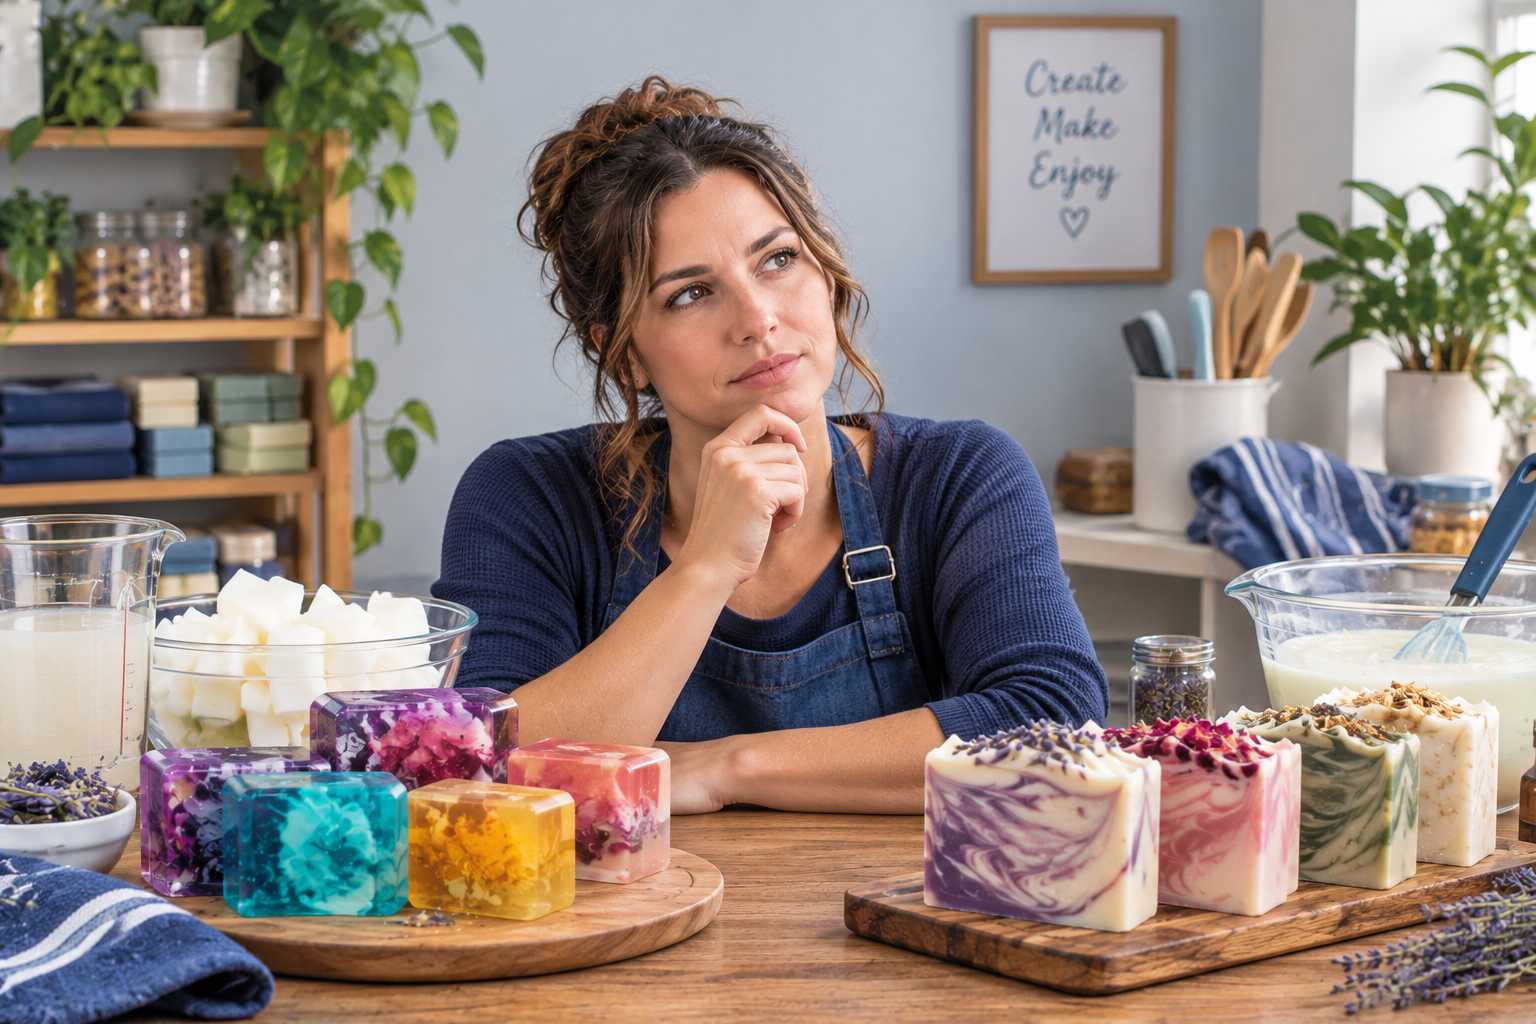
Melt & Pour vs. Cold Process Soap: Which Is Right for You?
Two wonderful ways to make soap, one deliciously fragrant adventure! Let's find your perfect match.
So, you've caught the soap-making bug. Welcome to the club! Before you know it, you'll be eyeing every silicone mold in the craft store, sniffing fragrance oils like a professional scent detective, and wondering whether your kitchen counter could accommodate just one more soap project.
But before you start filling your home with beautifully scented bars, there's one important decision to make: melt & pour or cold process?
Both methods can create gorgeous, wonderfully fragrant handmade soaps, but they're quite different when it comes to ingredients, equipment, time, and technique.
Don't worry! We're breaking it all down, without making you feel like you need a chemistry degree to understand it.
First Things First: What's the Difference?
Think of melt & pour soap as baking with a cake mix. The complicated part has already been done for you. All you have to do is add your creative touches, pour it into a mold, and admire your handiwork.
Cold process soap, on the other hand, is like baking a cake completely from scratch. You're choosing the ingredients, measuring everything carefully, and controlling the entire process. It's a little more involved, but there's something incredibly satisfying about creating something from the ground up.
And just like homemade cake, both can turn out absolutely fabulous!
Meet Melt & Pour: The Instant-Gratification Soap Maker
If you love quick projects, beautiful colors, and getting creative without a whole lot of fuss, melt & pour might become your new best friend.
Melt & pour soap starts with a premade soap base. With a true soap base, the chemical reaction known as saponification has already happened. That's just a fancy way of saying the oils and alkali have already done their job and become soap. Some melt & pour products are instead formulated as synthetic detergent-based cleansing bars.
You simply cut your soap base into small pieces, gently melt it, add your skin-safe fragrance oil and soap-compatible colorants, pour it into a mold, and allow it to cool.
Once it's completely hardened, it's ready to use. No weeks of waiting, no handling raw lye, and no staring impatiently at a shelf of soap bars wishing they'd hurry up.
Why Makers Love Melt & Pour
- Beginner-friendly: An excellent starting point if you've never made soap before.
- Quick results: Most projects can be ready in just a few hours.
- No handling lye: You're working with a premade base rather than mixing a lye solution.
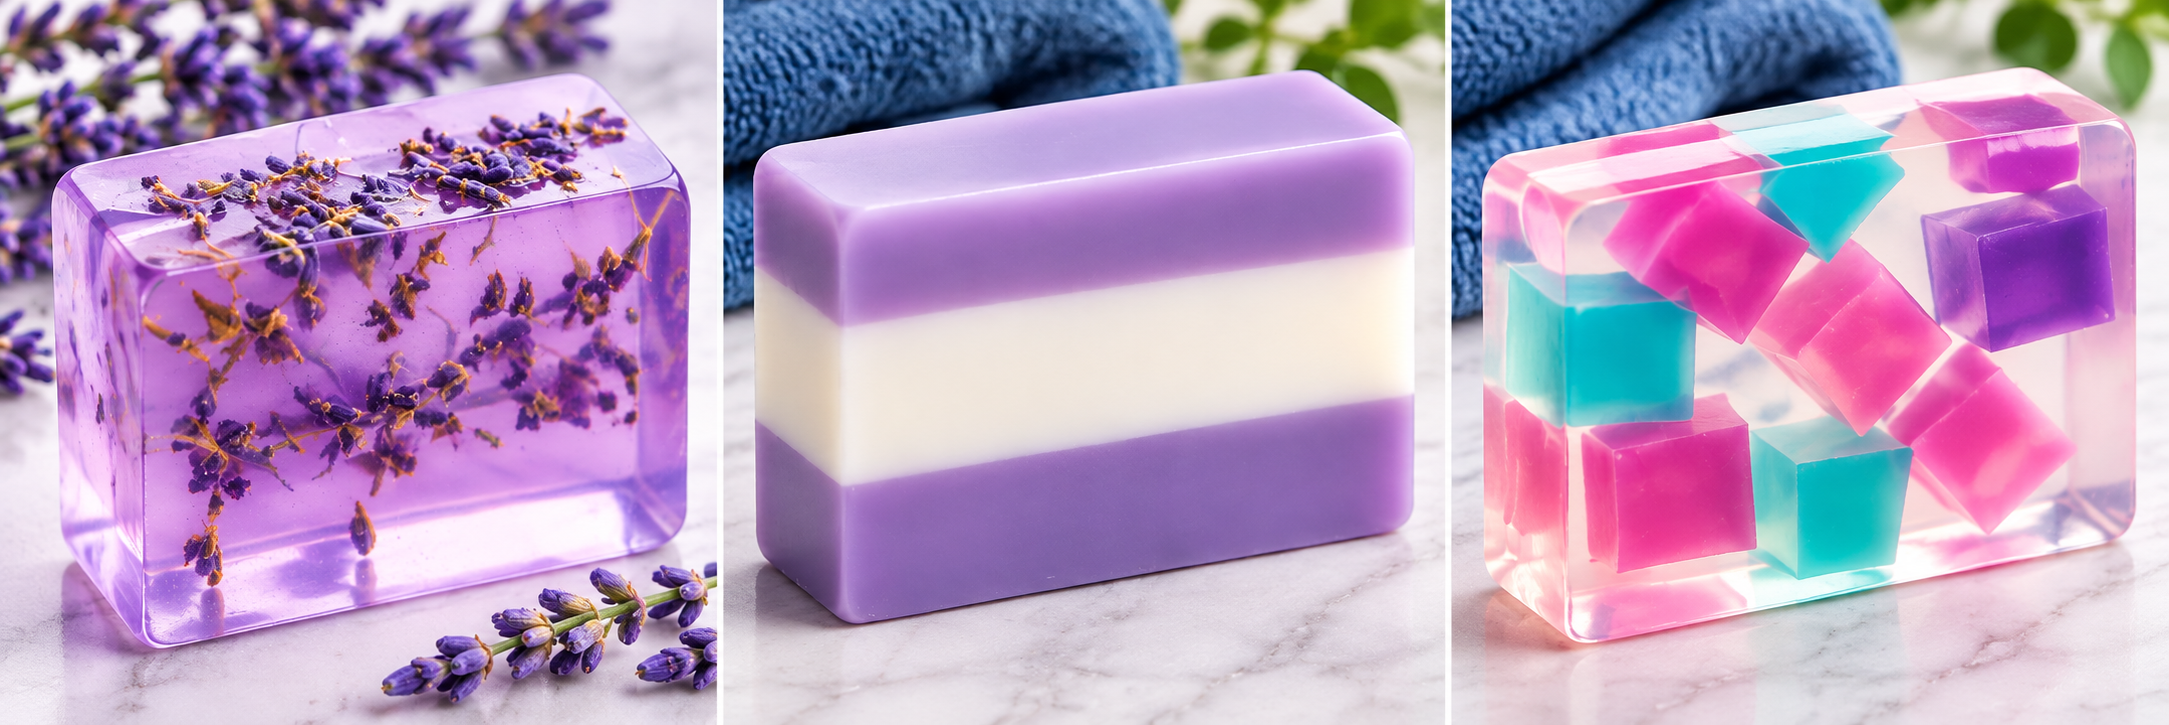
- Creative freedom: Make colorful layers, transparent bars, adorable embeds, and fun seasonal designs.
- Simple equipment: Get started with a soap base, suitable mold, scale, and a few basic tools.
- Perfect for smaller projects: Great for experimenting with new fragrances or making handmade gifts.
A Few Things to Keep in Mind
Of course, even our easygoing melt & pour friend has a few quirks!
Because you're starting with a premade base, you have less control over the oils and ingredients that determine the soap's finished characteristics.
Melt & pour soap can also develop little beads of moisture on its surface, commonly called glycerin dew or soap sweating. It's not your soap crying because you didn't compliment it enough!
Glycerin attracts moisture from the air, especially in humid conditions. Wrapping completely cooled bars appropriately and storing them in a cool, dry location can help reduce this problem.
Some designs also require careful attention to pouring temperatures to keep layers from separating or embeds from melting.
Meet Cold Process: The From-Scratch Soap Artist
If you enjoy experimenting with ingredients, learning new techniques, and having complete control over your creations, cold process soap making might be calling your name.
Cold process soap is made by combining carefully measured oils and fats with a solution of sodium hydroxide (lye) and water. This starts a chemical reaction called saponification, transforming those ingredients into soap.
Unlike melt & pour, you're creating the soap itself rather than customizing an existing base.
You can choose your oils, butters, additives, fragrances, and colors to develop a formula that fits your creative vision.
Want a bar with lots of creamy lather? A harder bar? A special combination of oils and butters? With the right formulation and testing, cold process gives you the flexibility to make those choices.
It's part creativity, part chemistry, and part patience. Especially the patience.
Why Makers Love Cold Process
- Complete recipe control: Choose your own oils, butters, and other ingredients.
- Endless possibilities: Develop unique formulas and signature soap collections.
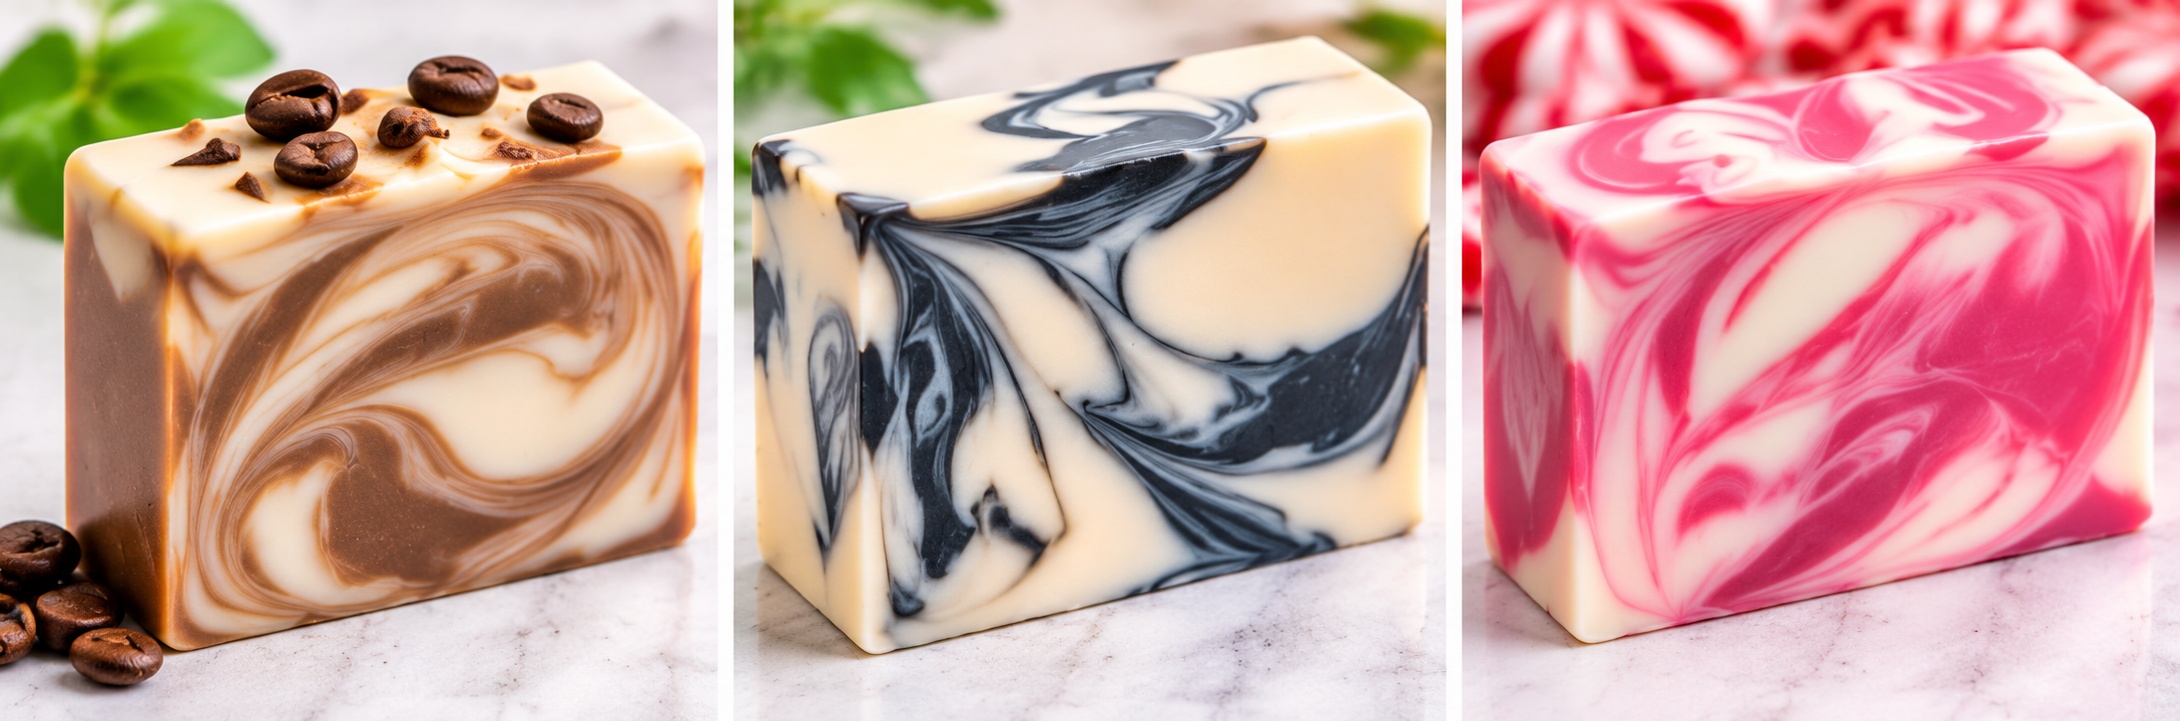
- Beautiful artisan designs: Create stunning swirls, textured tops, and colorful patterns.
- From-scratch satisfaction: There's something special about knowing you made every bar yourself.
- Great for experienced makers: Perfect for soap makers who love learning the science behind their craft.
A Few Things to Keep in Mind
Cold process requires more equipment, precise calculations, protective gear, and a good understanding of lye safety.
And then there's the waiting.
Most cold process soaps need approximately 4–6 weeks of curing time, sometimes longer depending on the recipe. During curing, excess water evaporates, and the bars become harder and longer-lasting.
Yes, four to six weeks.
We know. That's a long time to wait for something that smells so wonderful.
But patience is part of the cold process experience, and many soap makers will tell you the results are worth every single day.
Cold process fragrances can also be a little unpredictable. Certain fragrance oils may speed up thickening, affect texture, or cause discoloration, which is why testing is so important.
The Great Soap Showdown: Side-by-Side Comparison
Here's an easy comparison to help you decide which method fits your style.
| Feature | Melt & Pour | Cold Process |
|---|---|---|
| Skill Level | Beginner-friendly | More advanced |
| Starting Material | Premade soap base | Oils, water, and lye |
| Handle Lye? | No | Yes |
| Equipment | Basic | More specialized |
| Ready to Use | Once cooled and hardened | Usually after 4–6 weeks of curing |
| Recipe Control | Limited by the base | Extensive |
| Creative Designs | Layers, embeds, clear bars | Swirls, patterns, textured tops |
| Fragrance Behavior | Generally simpler | May accelerate or alter batter |
| Best For | Quick projects and beginners | From-scratch enthusiasts |
Both can produce wonderful handmade soap. The right choice depends on what you enjoy making, how much time you want to invest, and how comfortable you feel with the techniques involved.
Let's Talk Fragrance — Our Favorite Part!
Now we're getting to the really good stuff!
Whether you're making melt & pour or cold process soap, fragrance can transform a simple bar into something that feels extra special.
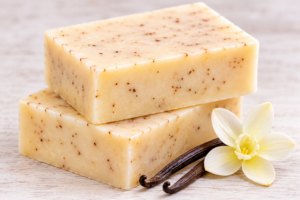
Imagine a creamy vanilla soap that smells like a cozy bakery, a refreshing citrus soap that brightens your morning, or a beautifully scented floral bar that makes an ordinary shower feel like a spa day.
The possibilities are practically endless!
But here's something every maker should know: not every fragrance behaves the same way in soap.
Fragrance in Melt & Pour Soap
Melt & pour is generally more forgiving when it comes to fragrance.
Because the soap base has already been manufactured, fragrance oils won't cause the same acceleration, ricing, or seizing associated with cold process soap.
However, fragrances can still affect color, clarity, and the finished appearance of your soap.
For example, some fragrances containing vanillin may cause your beautiful white soap to gradually turn tan or brown. That's normal fragrance discoloration, not a soap-making disaster!
Fragrance in Cold Process Soap
Cold process introduces some additional challenges because fragrance oils interact with soap batter while saponification is underway.
A fragrance may cause:
- Acceleration: Soap batter thickens faster than expected, leaving less time for elaborate designs.
- Ricing: The batter develops small lumps that resemble grains of rice.
- Seizing: The batter thickens so rapidly that it becomes difficult or impossible to pour.
- Discoloration: The finished soap changes color, sometimes significantly.
- Scent Changes: Certain fragrance notes may fade or smell different after curing.
These behaviors can depend on your fragrance, soap formula, temperatures, and techniques. Small test batches are an excellent idea when trying something new.
How Much Fragrance Oil Should You Use?
This is one area where guessing is definitely not your friend.
Always check the fragrance oil's IFRA certificate for its maximum permitted concentration in the intended application. Traditional bar soap falls under IFRA Category 9.
Remember that the IFRA maximum is a safety limit, not necessarily the ideal amount to use. With melt & pour soap, you must also follow the soap base manufacturer's fragrance limits. Use whichever limit is lower, and weigh your ingredients accurately.
For cold process, calculate your fragrance percentage consistently according to your recipe and supplier's guidance, without exceeding the IFRA limit for the finished product.
And remember: adding more fragrance doesn't automatically make better soap. Too much can lead to product problems and may exceed safe usage limits.
Safety First, Beautiful Soap Second!
We love creativity, but we love keeping our makers safe even more.
Melt & pour does not require handling raw lye, but melted soap can still get hot enough to cause burns. Use heat-safe containers, avoid overheating, and keep your workspace organized.
Cold process requires additional precautions because sodium hydroxide is caustic and can cause serious chemical burns.
If you're making cold process soap, always:
- Wear chemical splash goggles, appropriate chemical-resistant gloves, and protective clothing.
- Work in a well-ventilated area, away from children and pets.
- Use accurate measurements and a reliable soap-making lye calculator.
- Use lye-compatible containers and tools; avoid aluminum.
- Always add lye slowly to water, never water to lye.
- Follow a thoroughly tested recipe and understand the process before beginning.
A little preparation makes for a much happier soap-making experience. Safety glasses may not be the most glamorous accessory in your craft room, but they're definitely the smartest!
If you're new to cold process, learn proper lye handling and emergency procedures from a qualified soap-making safety resource before attempting your first batch.
What About Selling Handmade Soap?
If your dream is to turn your soap-making hobby into a business, both methods can work beautifully.
Melt & pour offers quicker production, a simpler learning curve, and the ability to create colorful collections without waiting weeks for curing. It's especially appealing for seasonal products, party favors, and small-batch gift collections.
Cold process gives you more flexibility to develop custom formulas and distinctive artisan bars. However, longer curing times mean you'll need to plan production, inventory, and seasonal launches well in advance.
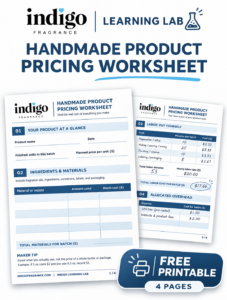
Whichever method you choose, make sure you understand applicable labeling requirements, ingredient disclosures, product testing, and any cosmetic claims you plan to make.
In the United States, how a product is formulated and marketed can affect whether it's regulated as soap, a cosmetic, or a drug.
Beautiful packaging catches someone's eye, but consistent quality is what brings customers back.
So, Which Soap-Making Method Wins?
Choose Melt & Pour If...
You want a quick, beginner-friendly project with plenty of room for colorful, fragrant creativity.
It's perfect if you enjoy trying new designs, creating seasonal gifts, and seeing your finished results without a long wait.
Choose Cold Process If...
You enjoy making products from scratch, exploring ingredients, and learning a more involved craft.
It's ideal for makers who love experimenting with formulas and developing their own signature artisan soaps.
And here's a little secret: you don't have to choose just one!
Plenty of talented makers use both methods. You might create bright, cheerful melt & pour soaps for gift sets while developing a luxurious cold process collection with your own signature recipes.
There's no soap-making rule that says you have to pick a team and stick with it forever.
A Final Little Note from Indigo
Whether you're melting your first soap base or perfecting your hundredth cold process recipe, remember that every beautiful handmade creation starts with a little curiosity and a willingness to experiment.
Some batches will turn out exactly as you imagined. Others might have an unexpected color, a wonky swirl, or a shape that looks suspiciously like a potato.
That's okay! Every maker has been there.
The important thing is to keep learning, keep creating, and most of all, have fun with it.
And when you're ready to add a little fragrance magic to your next batch, we'd love to help you find the perfect scent.
Happy soap making, and may your bubbles be plentiful and your fragrances fabulous! With love and a whole lot of fragrance,The Indigo Fragrance Team
Ready to Make Something Wonderful?
Find the perfect fragrance for your next handmade soap creation. Explore our fragrance oils, review the appropriate IFRA usage limits, and let your creativity shine!